
Seaweed Trees – Adhere Pattern to the Wood Blank
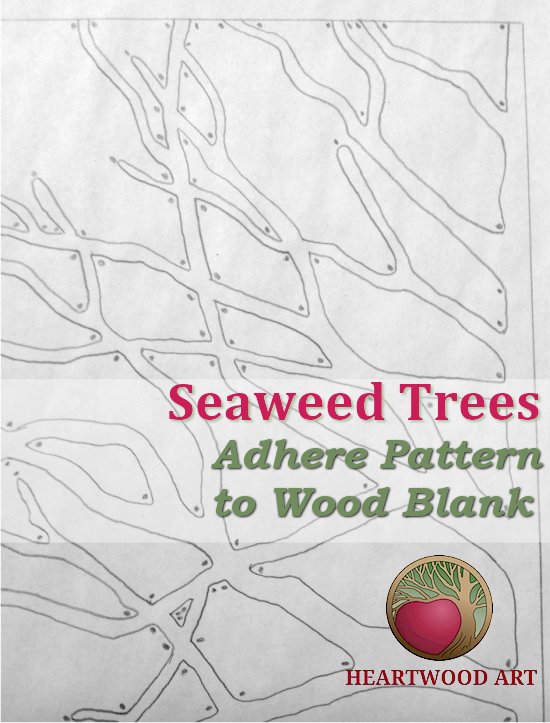
Now that the final drawings are complete, it’s time to mark the access holes for the scroll saw blade and temporarily affix the pattern to the wood blank. I’ve discovered a few tricks that make this multistage process go smoothly.
This post is part of the Follow My Carving Series
See all posts for this carving
First, I lay the wood blank on the pattern and cut the paper to exact size using an X-Acto knife.
Next, I make dots for each drill point to ensure I get them all. And, it makes them easy to find while at the drill press.
It’s important to mark them as close to two edges as possible. The holes will allow me to easily turn the wood into a new cutting direction. But, if they are too far away from the line being cut, it’s disruptive to the process, and makes for a jagged cut.

Then the pattern is placed on top of the blank, ensuring that it is square. I use two super short pieces of tape at the top to hold it into place.
Tip: I’ve found it best to attach the tape to the wood first, then roll over to the paper. This ensures it stays square to the wood.
The tacky sprays I like best are from 3M and Krylon. They are easy to find at craft stores. They adhere the paper pattern to the wood securely enough to last through the drill and cutting phases. And then the pattern can be peeled off cleanly afterward.
Newspaper helps protect the floor from over spray.
The wood blank is placed near one edge so there is room to flip the pattern over.
A thin coat of adhesive is applied to the wood and the back side of the pattern.
Tip: Doing it this way also helps ensure you spray an even coat on both materials.
It’s important to let the adhesive dry for 60 seconds so that it becomes nice and tacky.
Tip: The stop watch app on my cell phone is super handy for timing this step. (On my iPhone, it’s part of the Clock app.)
I use my hand to begin smoothing the pattern onto the wood from the top and working toward the bottom. Once it’s all down, two more pieces of tape per side ensure that it stays secure over time. When finished, I press my palm more firmly, rubbing over the whole surface for super adhesion.
Even adhesion will be important during the cutting phase, when the adhesive is losing its hold and edges of the paper want to curl up.
I let it set for another 10-15 minutes before drilling, just to be sure the adhesive is good and dry.
Tip: Don’t wait too long to start drilling and cutting as tacky glue will come loose. I rarely go more than a few days between adhering the pattern and removing it.
Now I’m ready to start drilling the holes. And I’ll have a few tips on that for you too!